Lavalier microphones (lav mics) are small, discreet microphones that are designed to capture audio of a person speaking, such as an interview subject.
While some lav mics are wired systems, we use wireless lav mics that transmit audio from the microphone to the camera or audio recorder. The lav mic is attached to a collar, and there’s a wire running from the actual microphone to a transmitter pack which is usually placed in the subject’s pocket or out of the shot. The wireless part of this setup comes in how the sound is transmitted and captured. The transmitter pack captures the audio and transmits the signals to the receiver, which is attached to your camera or audio recorder. The sound signals are converted to audio files, which are saved on the SD card of your camera or audio recorder.
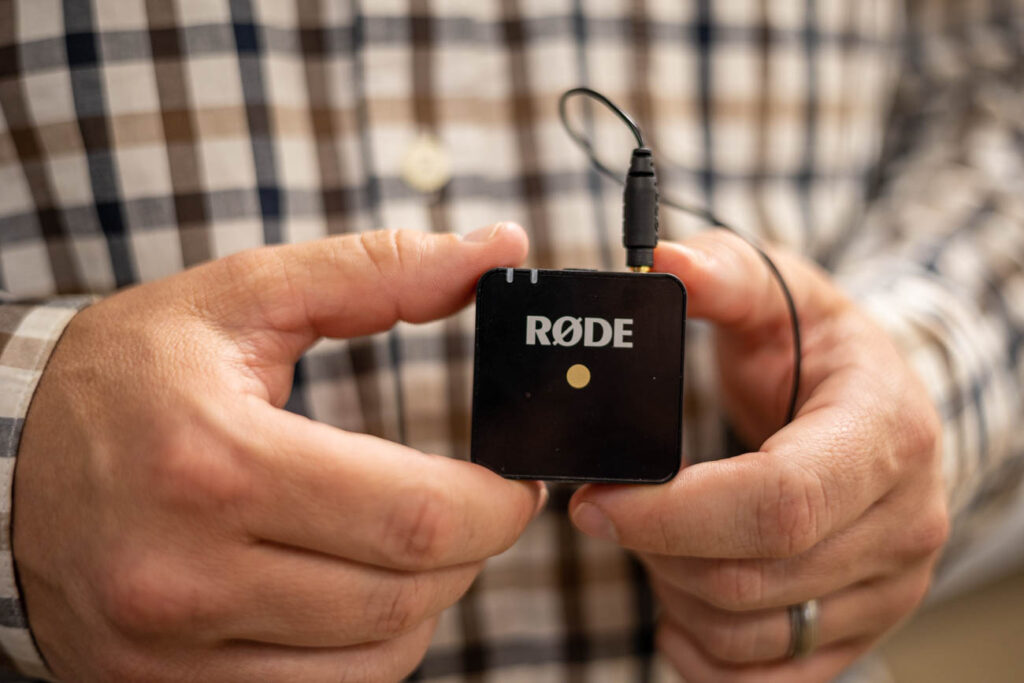
We use the Rode Wireless Go System. Keep in mind you’ll have to buy the microphone part separately unless you find a package deal. These new Go lav systems are extremely compact. We love the rechargeable lithium-ion batteries, which last for 6-7 hours of recording.
Rode also released the Rode Wireless Go II, which comes with two transmitters for two-person recording. This is ideal for interviews with two subjects. The audio track from each person can be recorded individually OR mixed together for one seamless audio file.

Lav mics work best when they’re placed close to the subject’s mouth or throat area. Most lav mics are omnidirectional, so the mic will pick up sound in an area no matter where it’s pointing. However, as the microphone gets farther away from the subject’s mouth, the audio levels and quality diminishes. The mic should be clipped to the subject’s collar or higher up on the shirt and aimed in the general face/mouth direction. Be sure the mic is not being rubbed on any clothing or skin, as this will create unnecessary noise created by movement.
Sometimes the lav mic needs to be hidden. This is where things get tricky. The wire needs to be routed under the subject’s shirt, up their back, and clipped to the collar or taped to the inside of the shirt. The transmitter needs to be hidden in their pocket or clipped to their belt or pants. This can make for an uncomfortable situation. Most subjects will be more than happy to run the wire up their shirt. If they’d rather have you do it, a good way is to disconnect the mic wire from the transmitter and lower it down their shirt from the top. Their shirt stays on and everyone is happy.
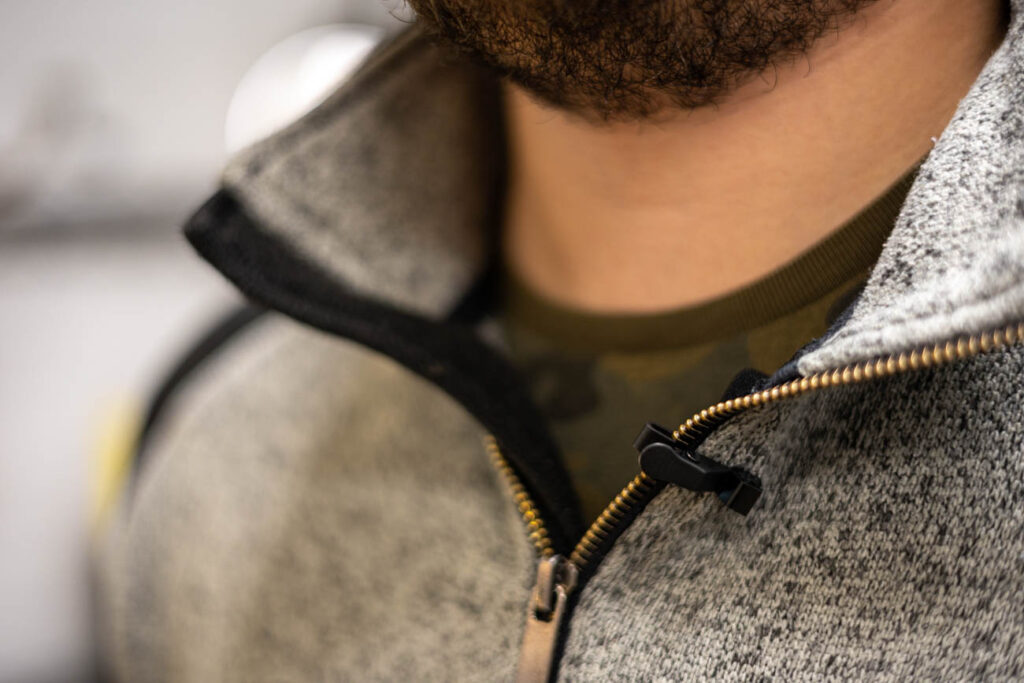
The clip can take a bit to get just right, as was the case with Cosmo Trikes during our Snap Fitness video shoot. We had to take the clip off twice to reposition the mic which gave Cosmo time to get nervous for the interview. Being able to talk through the process of setting up the mic with your subject and being efficient with it will help keep them calm. Even the small things like that are moments we can learn from and build on for the next shoot.
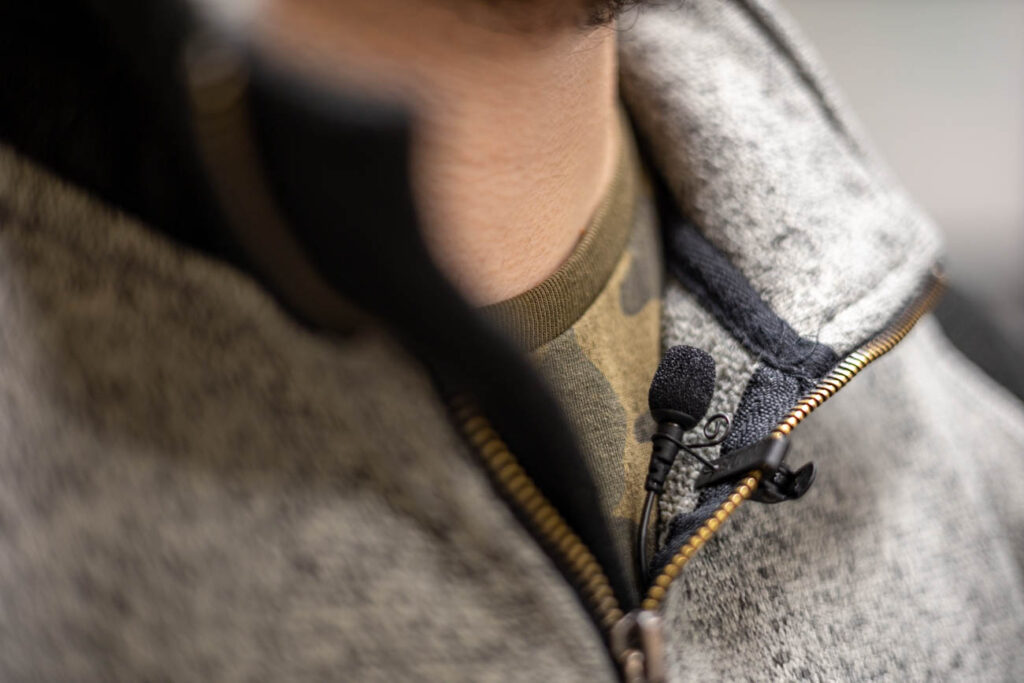
Pro Tip: Remove the mic from the clip and insert it the opposite way for a more discreet setup. This will allow you to hide the mic inside the collar (vs having it outside facing).
Before the interview starts, make sure the transmitter and receiver are linked and your camera is recording audio from this external source. Most cameras and audio recorders have 3.5mm audio jacks, which allow you to monitor the sound in real time with your headphones and make adjustments as necessary.
Prior to arriving at a video or photoshoot, you should always do a few test runs with your equipment. It doesn’t matter if it’s a new camera, different lighting setup, audio gear, or anything else. Taking this time to understand how the equipment works inside and out will make things way easier during a real shoot. This will relieve some of the stress and pressure that inevitably comes with every shoot.